Basement Moisture: Three Entry Zones and What Each One Means
This article is for general educational purposes only and is not engineering advice for any specific property. Reading it does not create an engineer–client relationship with VM Engineering. Foundation and structural conditions vary. Have a licensed professional engineer inspect your property before making repair, purchase, or legal decisions. Full disclaimer
Every wet basement tends to get described the same way — “evidence of past moisture intrusion” — and that phrase says nothing about how serious the problem is. The height at which the water shows up narrows the cause to one of three entry zones, and each zone indicates a different level of severity and potential repair cost.
The framework
Where It Shows Up Tells You What the Next Step Is
Bottom 2–3 courses, at the cove
Water reached the footing and the drainage system is not carrying it away. Drain tile, bleeders, sump, or block cores full of water.
WI UBC 30.50(4)(a)Staining high on the wall, under windows, at corners
Surface water from outside: grade toward the house, short downspouts, window wells, driveway. Excavate-and-waterproof territory if it persists.
WI UBC 30.50(4)(b)Cracks in the slab away from the wall; floor drain backing up
Water under the slab: no interior tile, plugged tile, failed sump, stuck palmer valve — or a high water table.
WI UBC 30.50(4)(c)(d)Zone A
Discoloration, Dampness or Seepage at the Wall Base
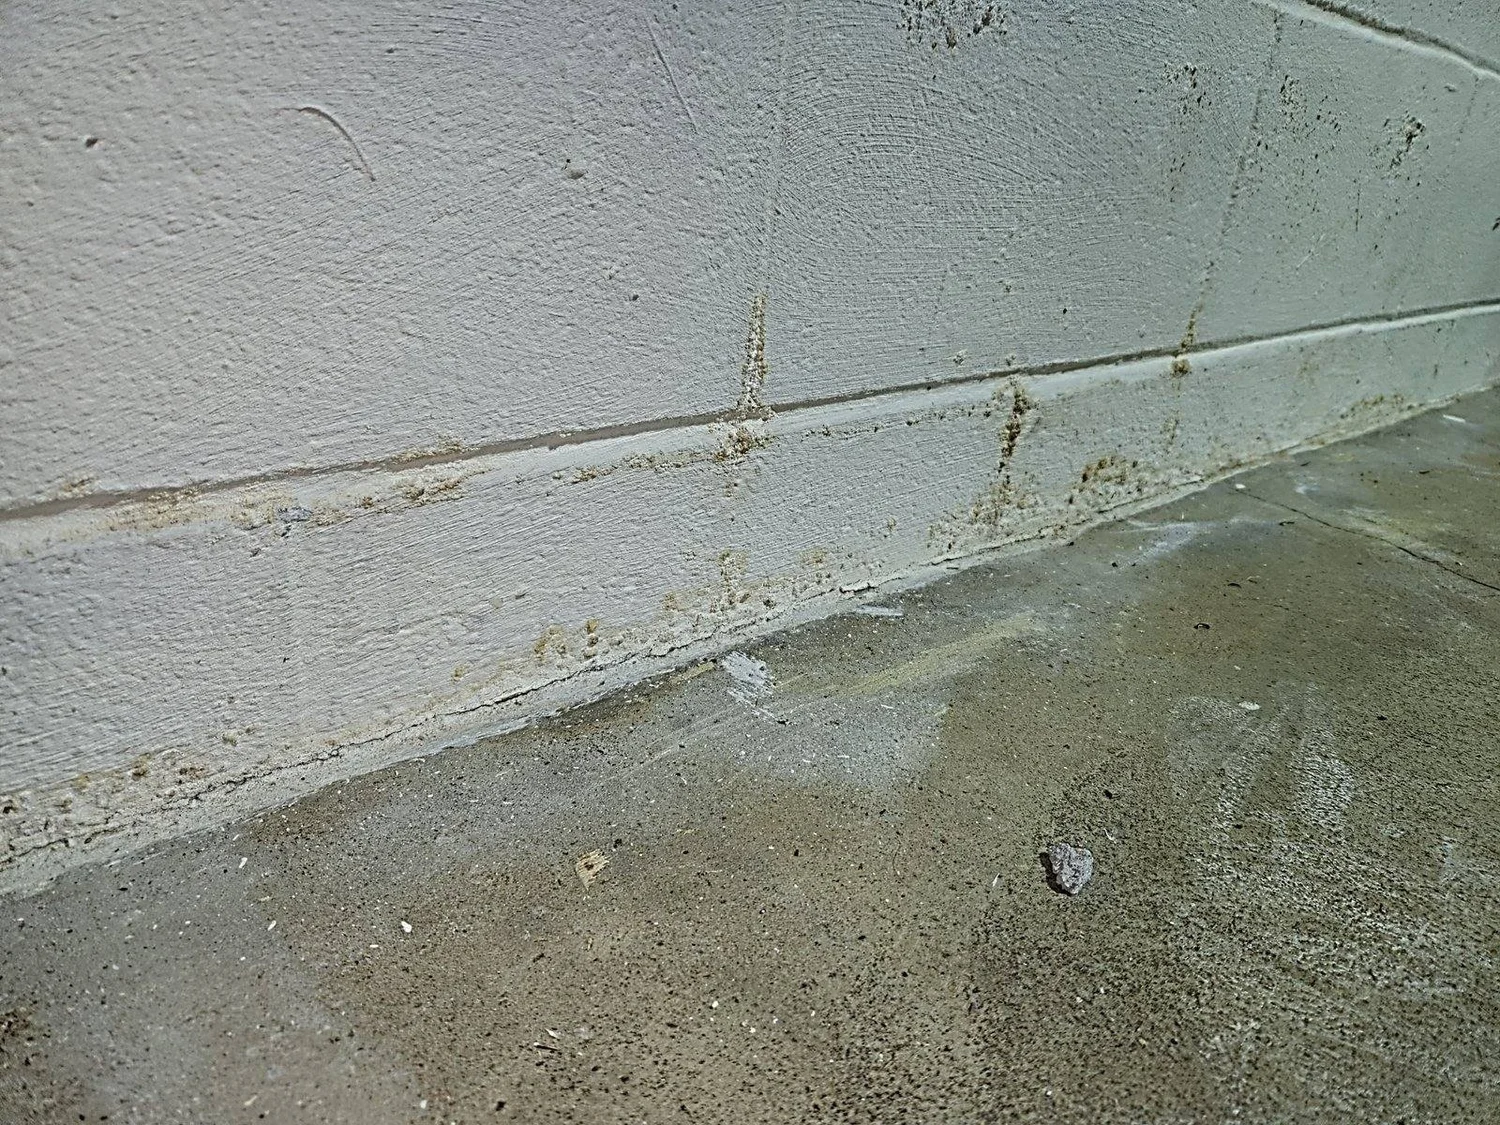
The cove is the joint where the wall meets the slab. Water arriving there has already reached footing depth, which means the exterior drainage system either was never adequate or has stopped working.
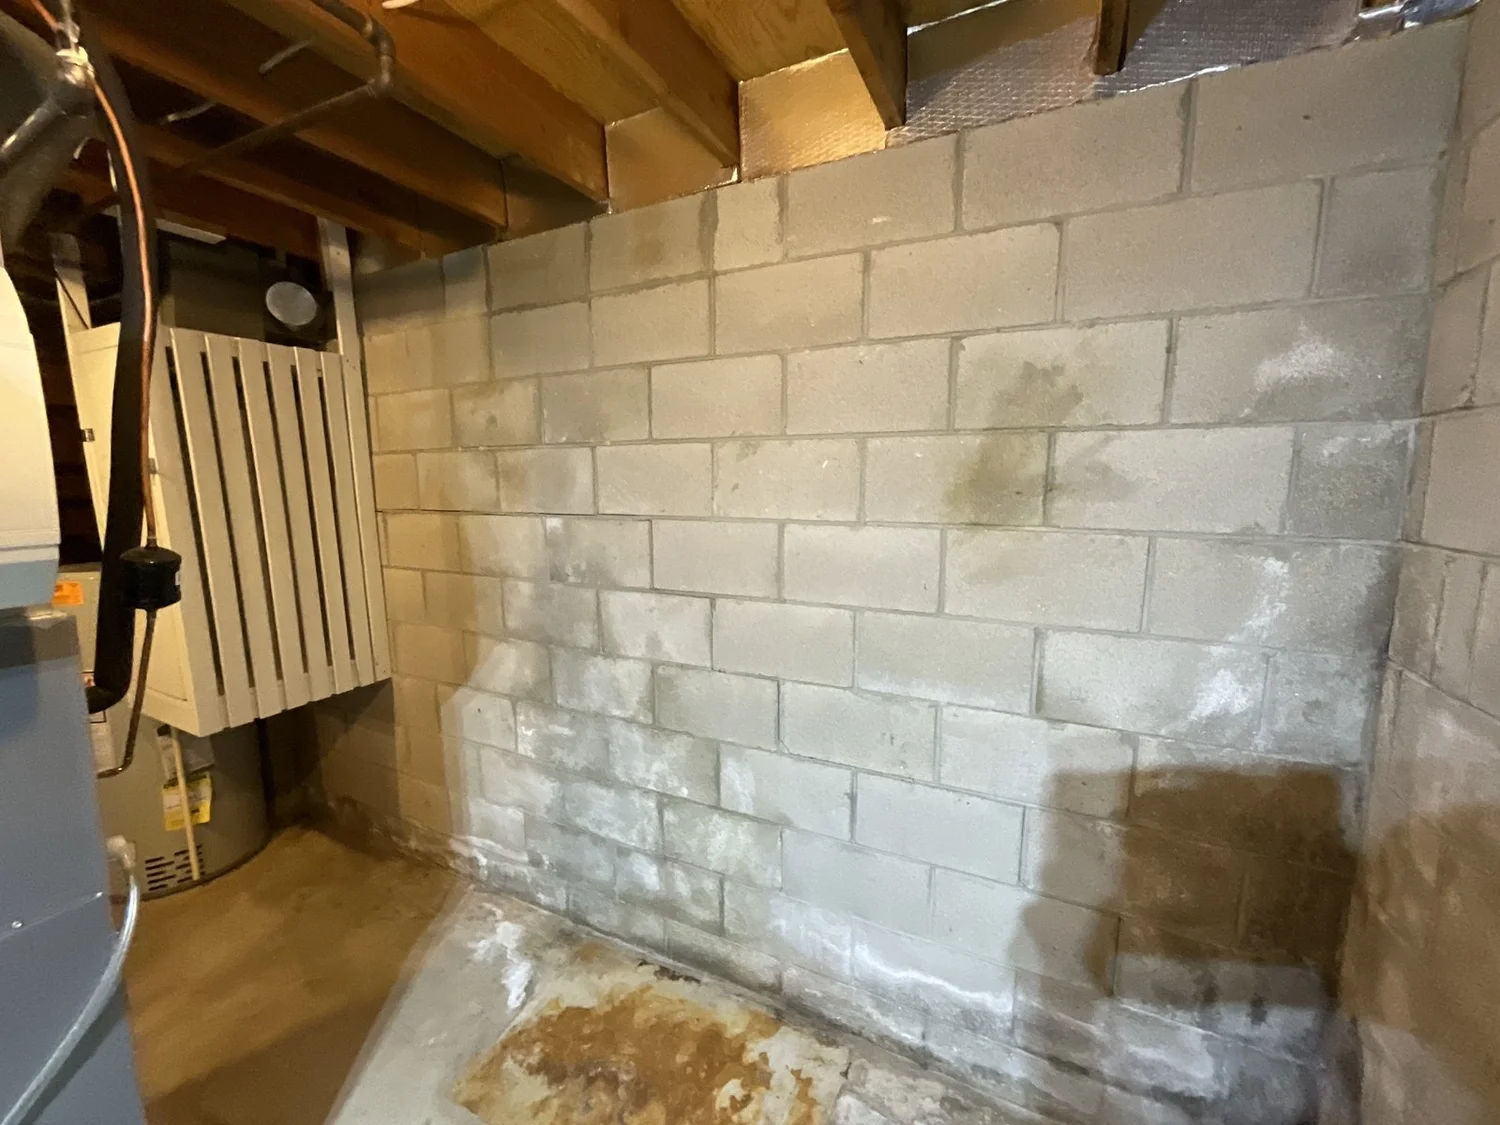
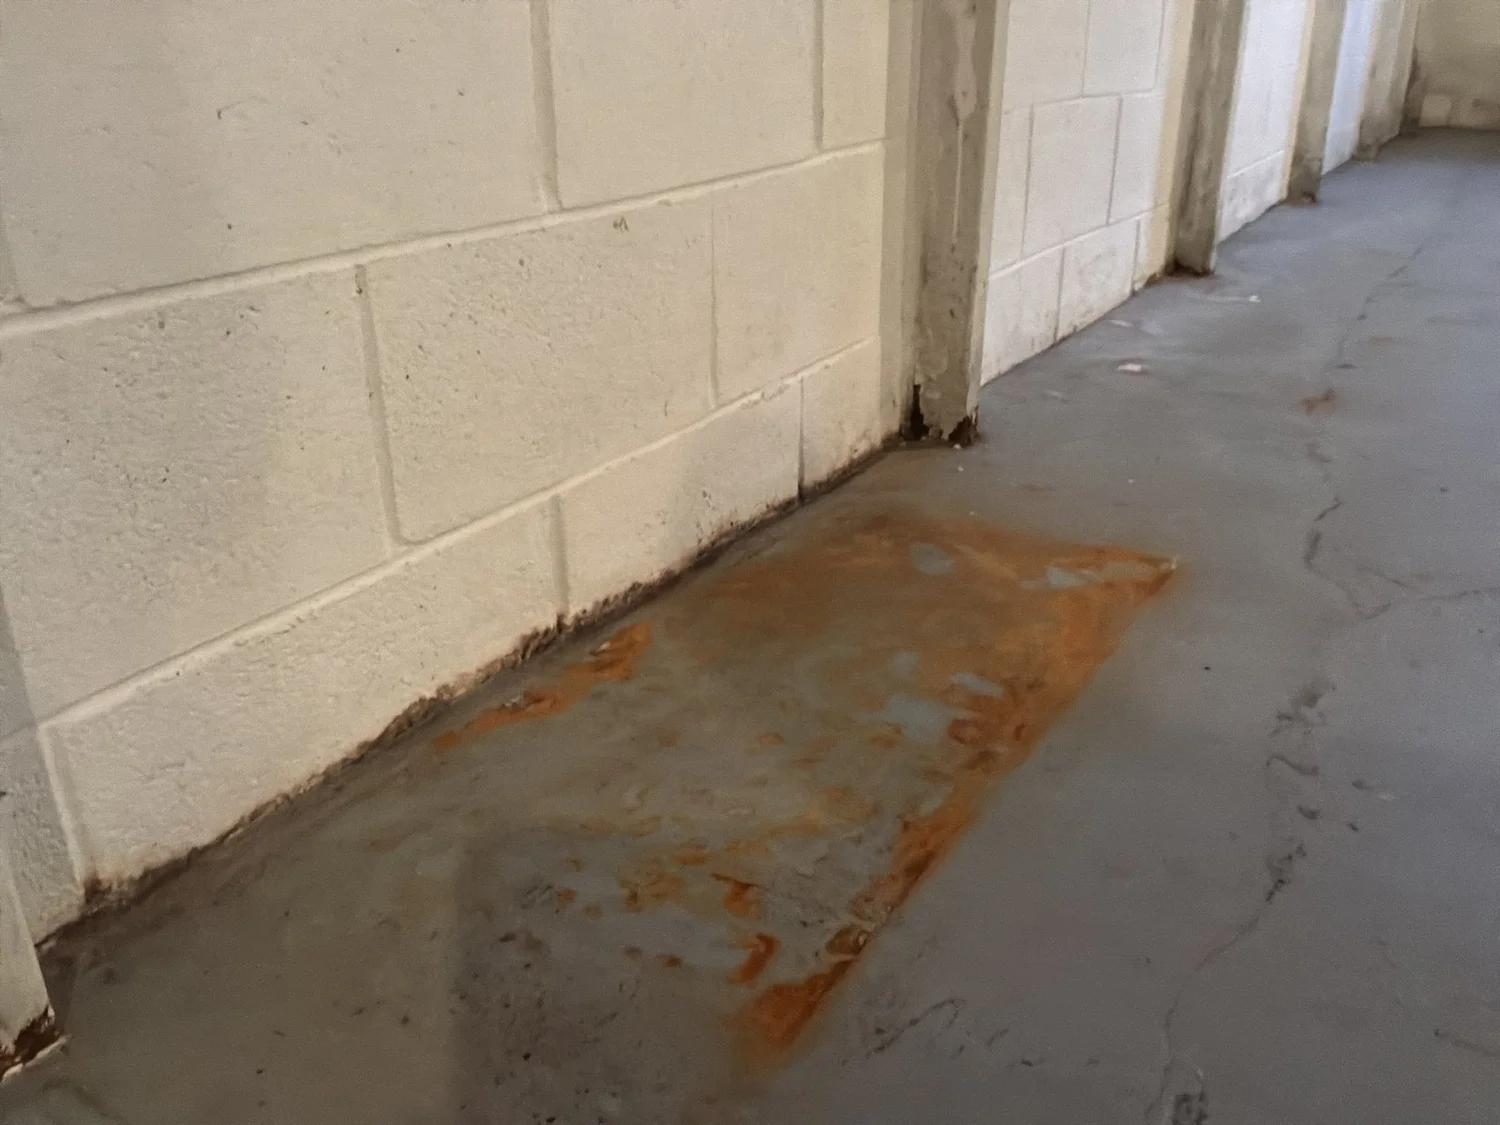
- White efflorescence or a dark tide line on the bottom two to three courses
- Puddles or run marks at the cove after rain
- Peeling paint, mildew odor, rust at the base of steel columns
- Stored items raised on blocks, or a wet mop left out
- Water sitting in the block cores — visible at any open top core
- Review the exterior grading, landscaping and downspouts.
- Recommend a drain tile test.
- Note that drain tile replacement may follow.
If the test calls for replacement
What an Interior Drain Tile Replacement Looks Like
When the drain tile test shows blockage, this is the system that goes in. Knowing the parts helps you describe what was installed — or what is missing — on the next inspection.
Scroll the drawing sideways on a phone
Zone B
Discoloration, Dampness or Seepage Two Courses and Above
Staining that starts high and runs down is surface water, not groundwater. The source is almost always outside and almost always visible from the yard in the ten minutes after you leave the basement.
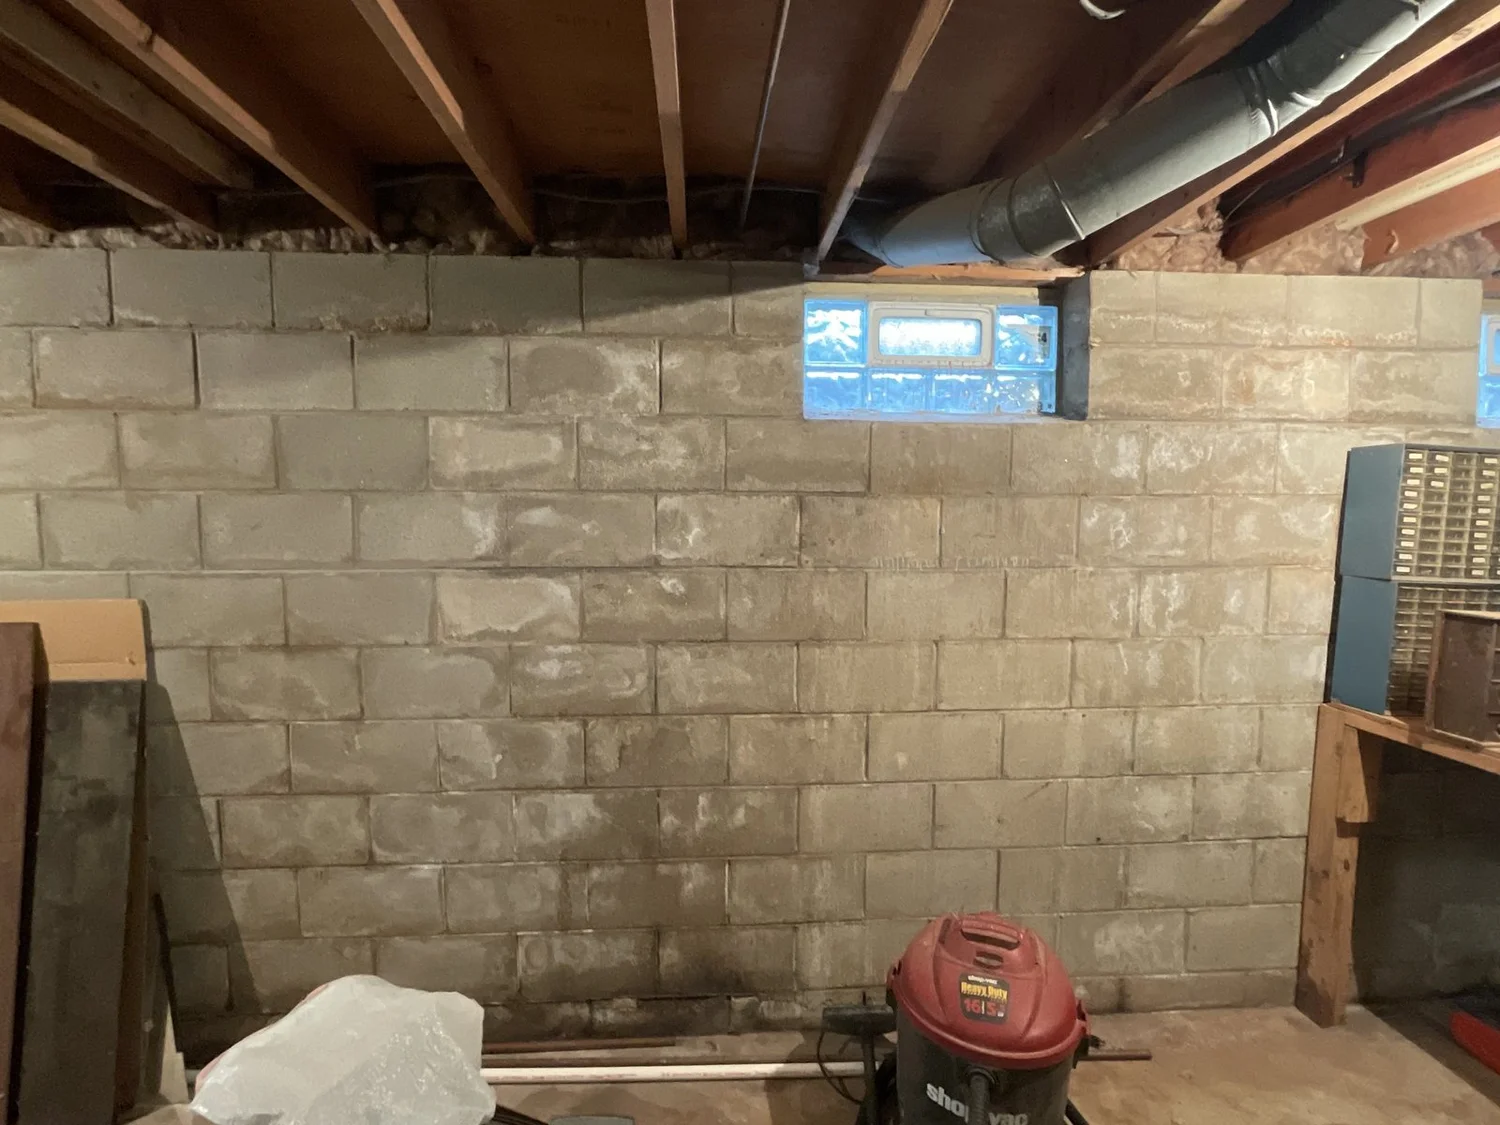
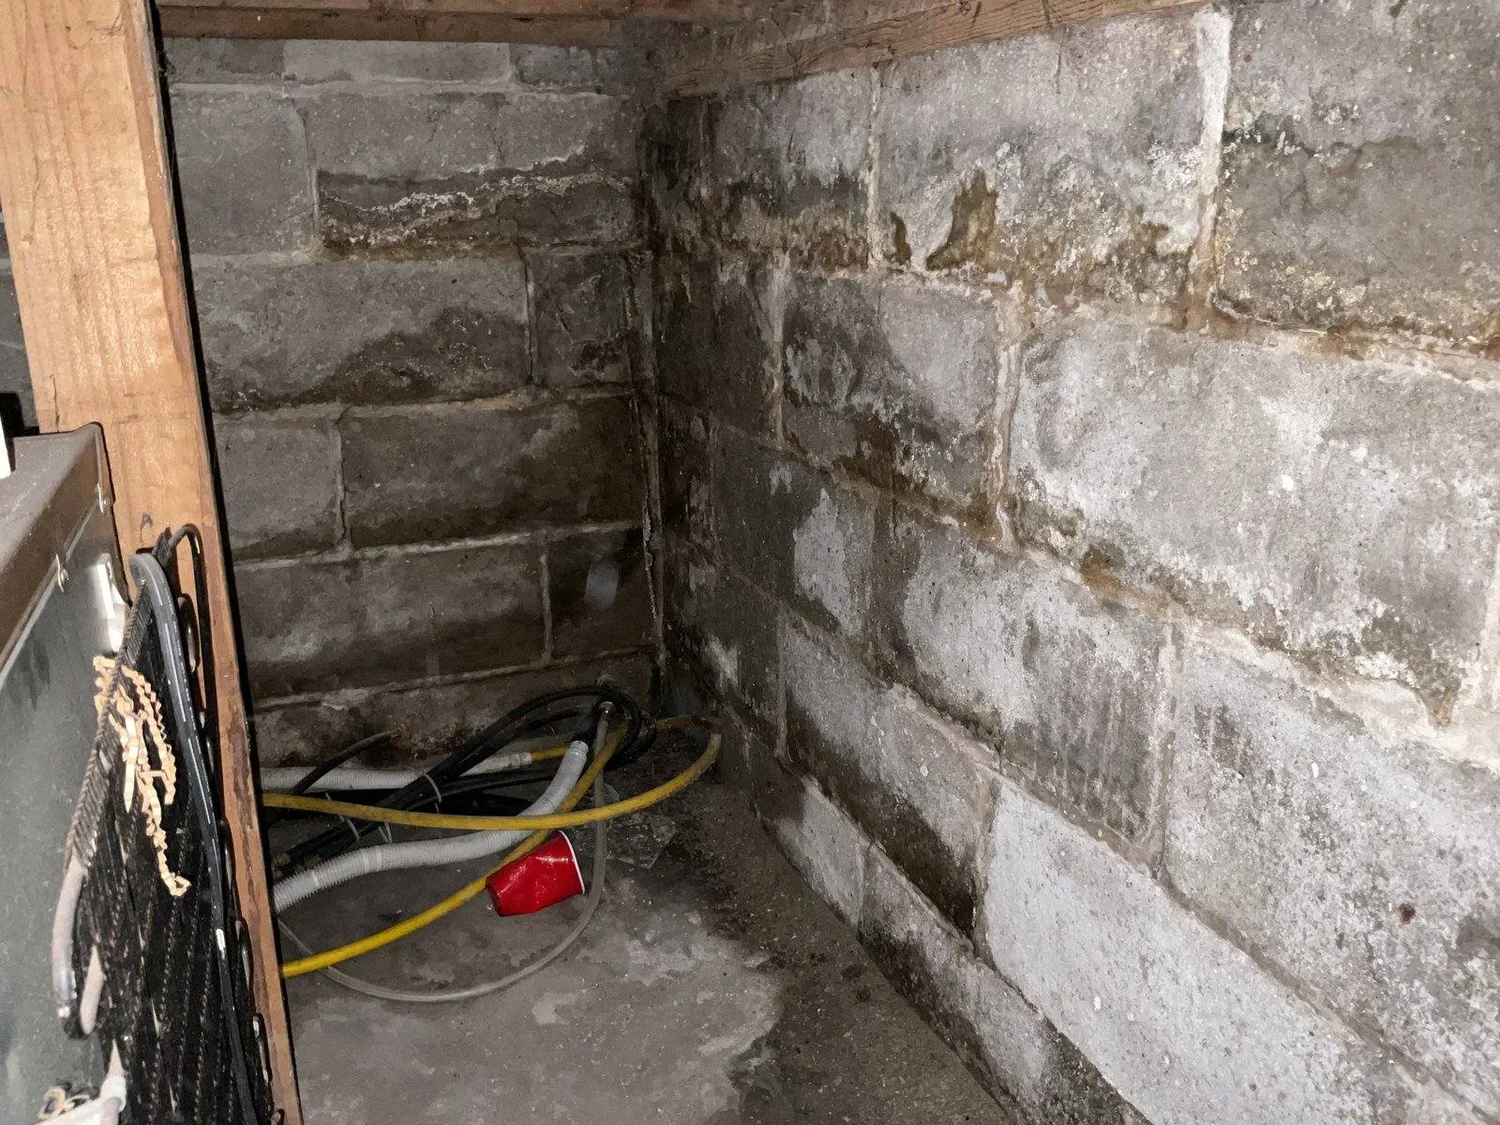
- Staining that starts high and runs down, not up from the floor
- Wet spots under windows, at corners, below hose bibs
- Efflorescence in a band at grade level
- Outside: grade toward the house, downspouts ending at the wall, window wells full of leaves, a stoop or driveway sloped toward the wall
- Dark tuckpointed joints or coatings — someone has chased this before
- Review the exterior grading, landscaping and downspouts.
- Note that excavation may be needed for waterproofing.
Zone C
Through the Floor Slab
Water coming up through slab cracks away from the wall is a different system failing. The wall drainage may be fine. What is not fine is under the floor.
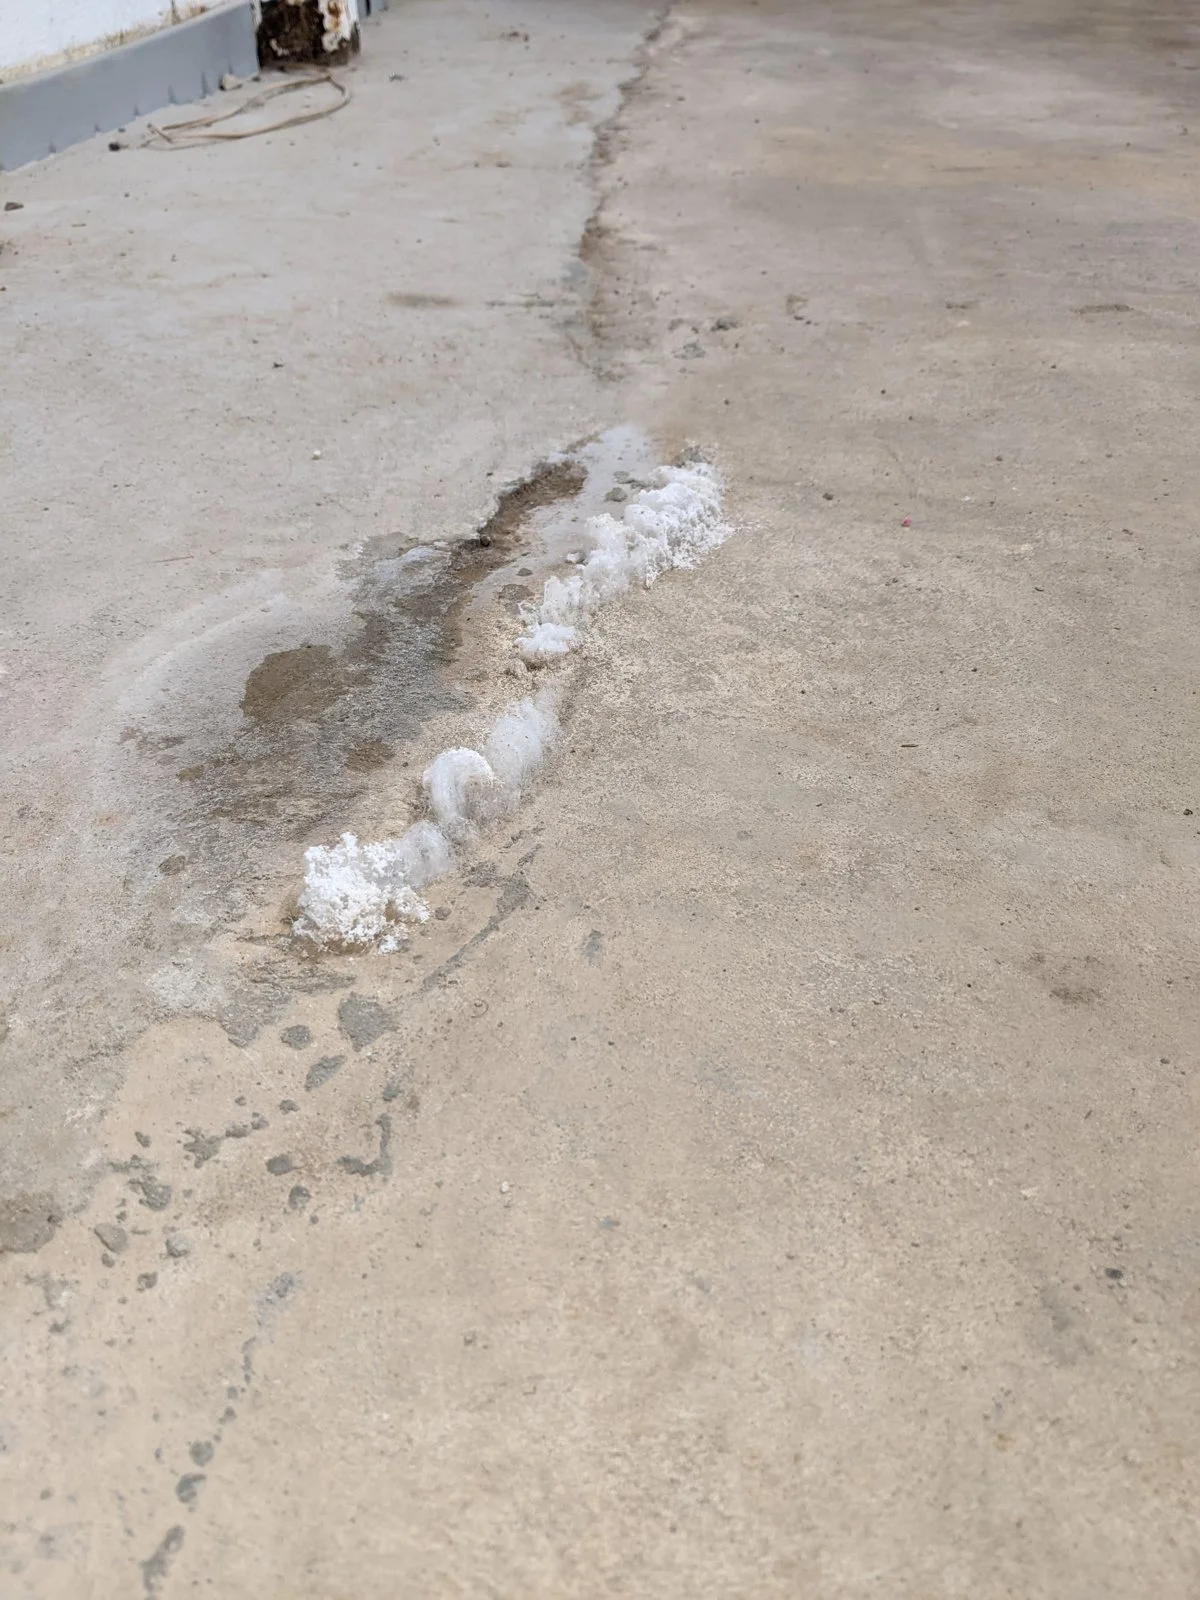
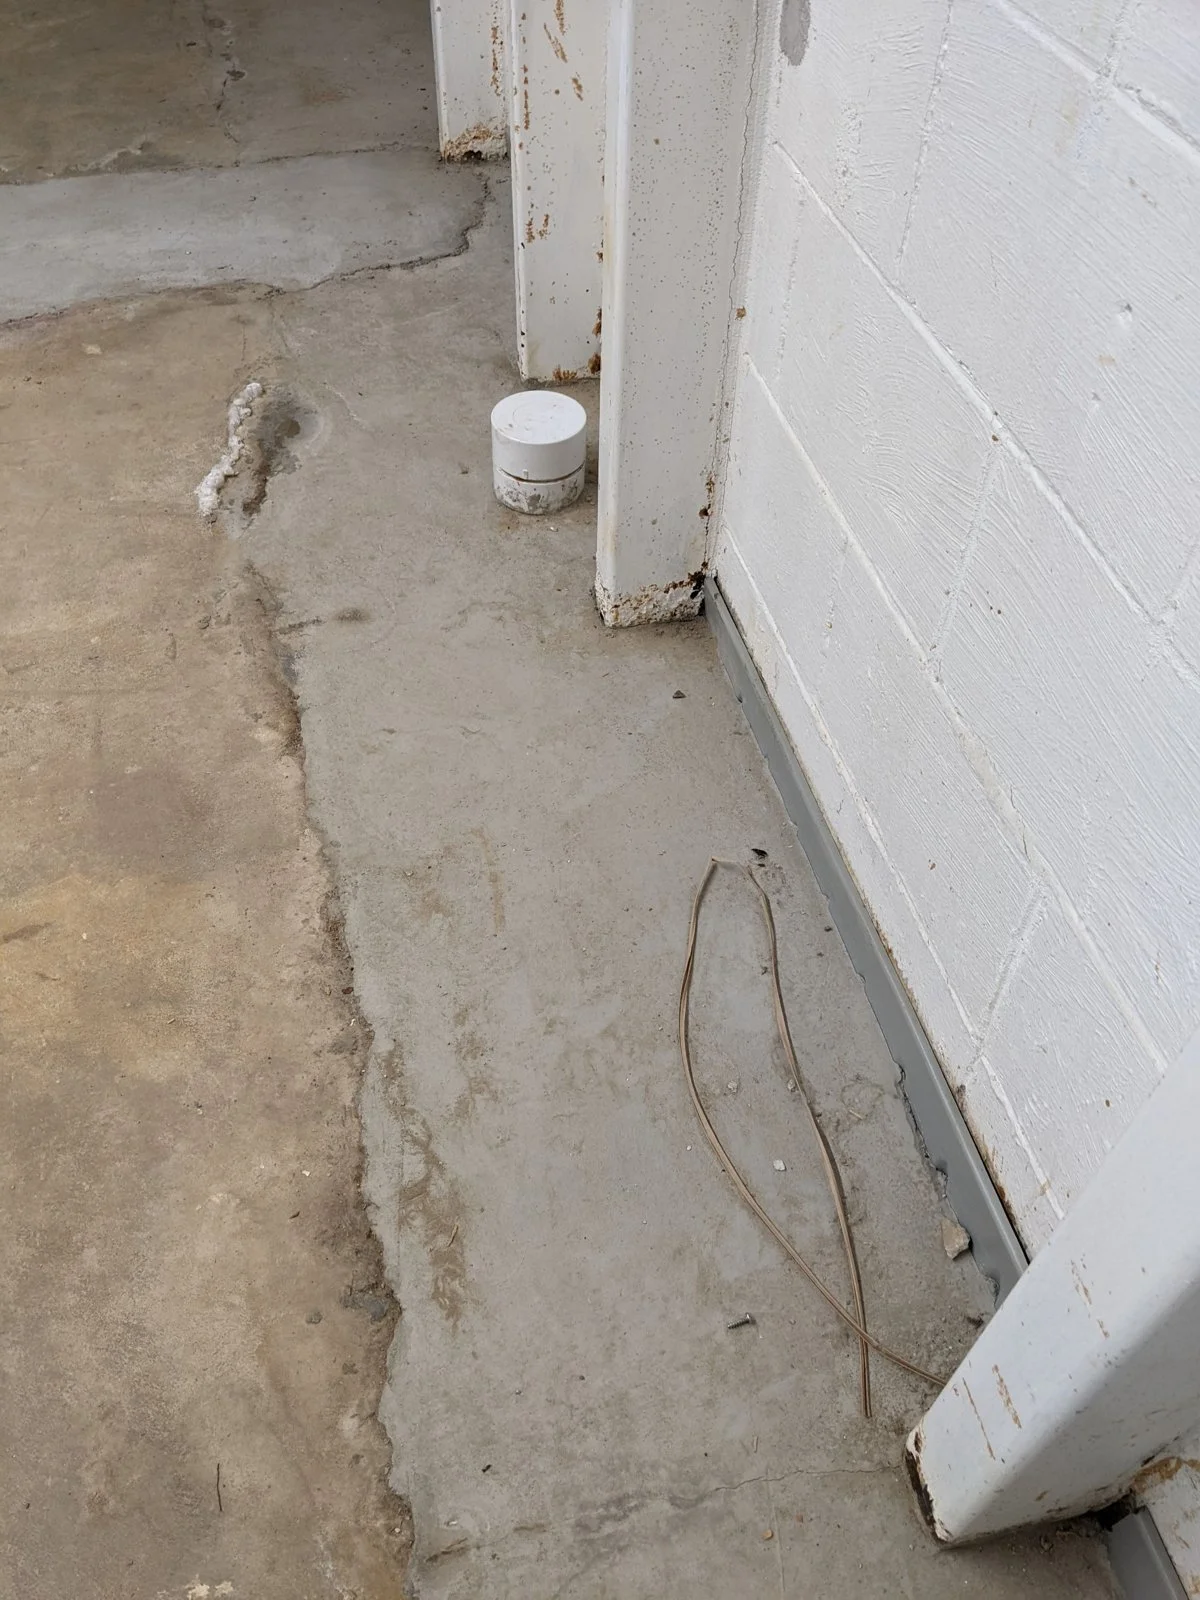
- Discoloration and dampness along slab cracks, not at the wall
- A floor drain with standing water, or a stuck palmer valve
- Sump crock: water level, pump present and running, discharge routed away
- Iron ochre (orange slime), roots, or mineral crust in the crock — drain tile trouble
- Slab humped upward toward the center of the room
- Recommend a drain tile test, and note that replacement may follow.
- Consider whether this is a high water table issue — see below.
The exception
High Water Table — The One That Needs an Engineer No Matter What
Most wet basements are a drainage problem and a contractor can solve them. A high water table is not a drainage problem. When the groundwater surface sits above the basement floor, no amount of tile and no number of pumps changes the physics, and the Wisconsin standard requires site-specific engineering.
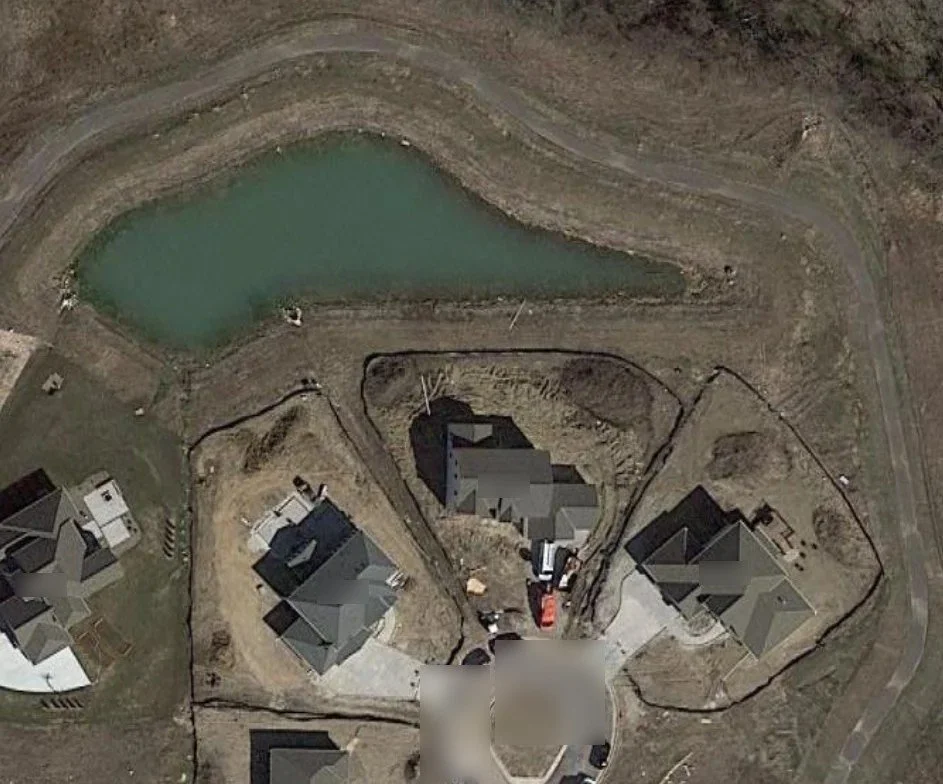
- The sump runs continuously regardless of rain or snowmelt
- The crock overflows while the pump runs normally — not enough capacity
- A pond, stream, lake, or standing water nearby with a surface higher than the basement floor
- Standing water around the house during dry periods
- The slab deflected upward toward the center from hydrostatic pressure
- Multiple sump crocks in one basement
State the high water table flags in the report and recommend review by a geotechnical, civil or structural engineer. This is the one moisture condition where a foundation contractor is not the right referral.
Outside
Half of the Moisture Answer Is in the Yard
Every stain you found inside should be matched to something outside before you write the report. If you cannot match it, say that too — an unmatched interior stain is a reason for further evaluation, not a reason to stay quiet.
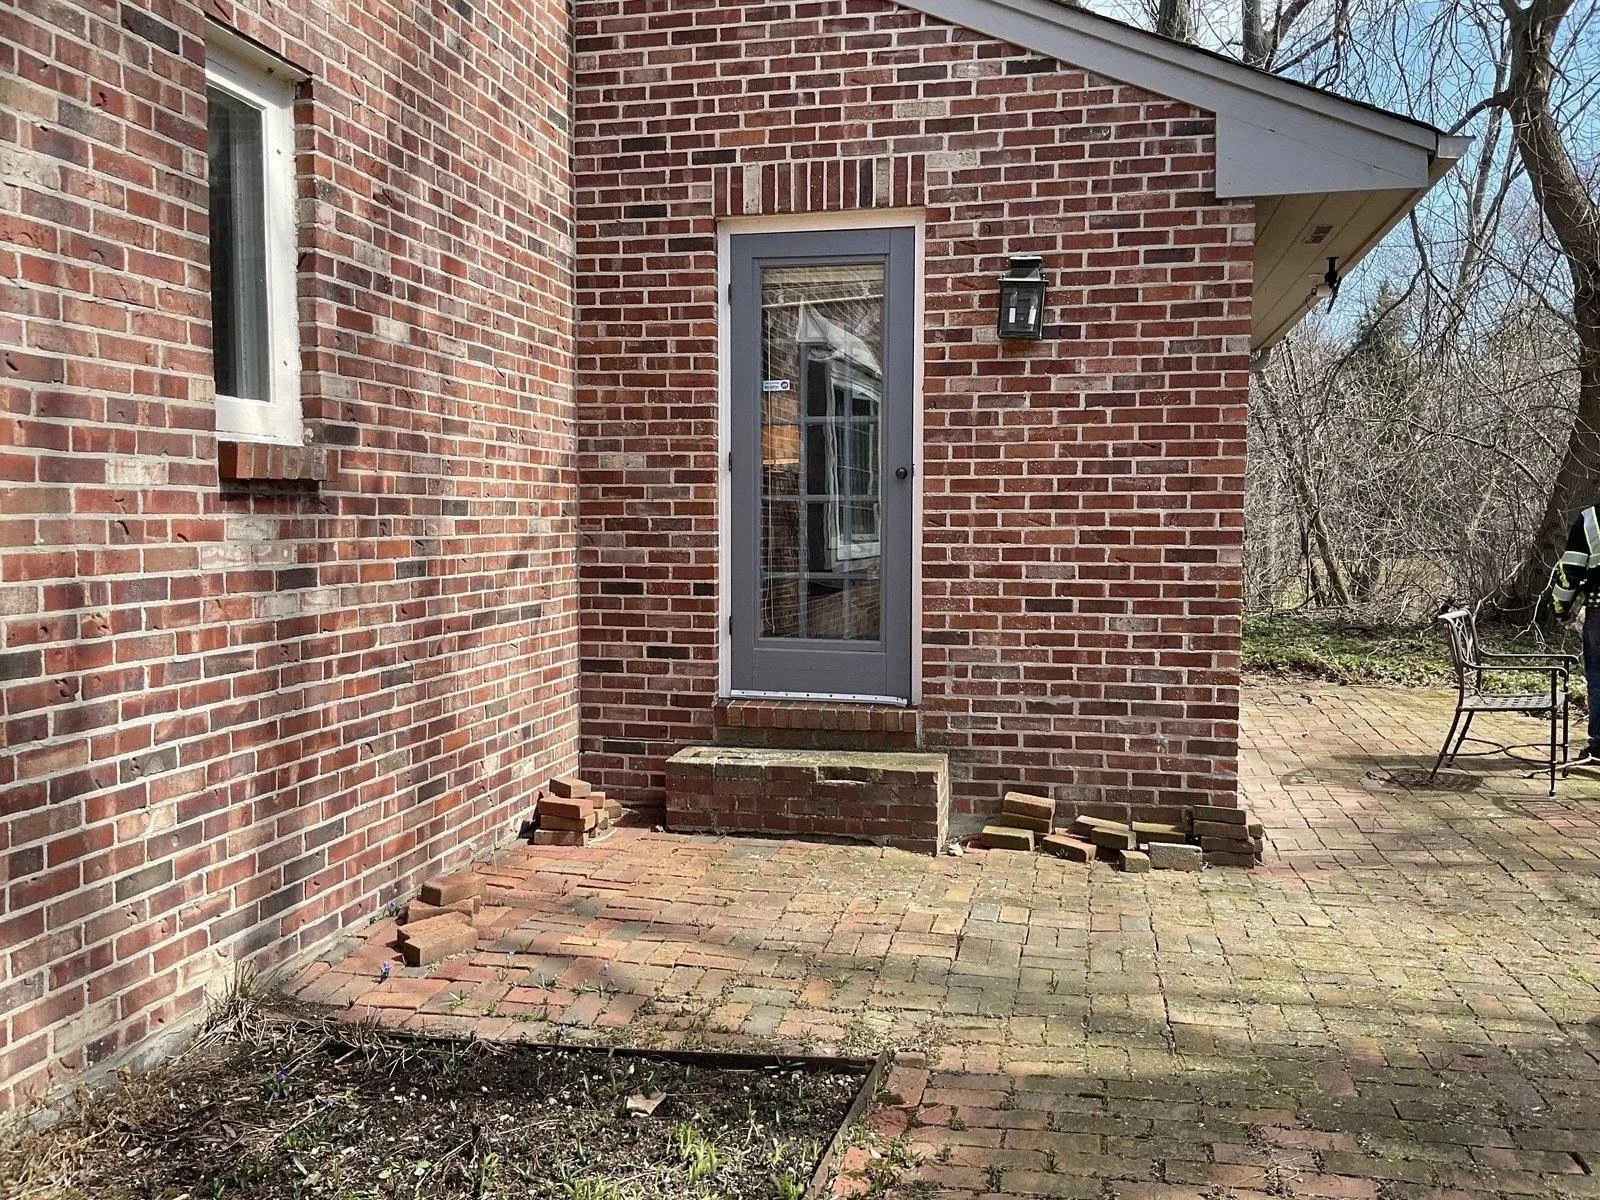
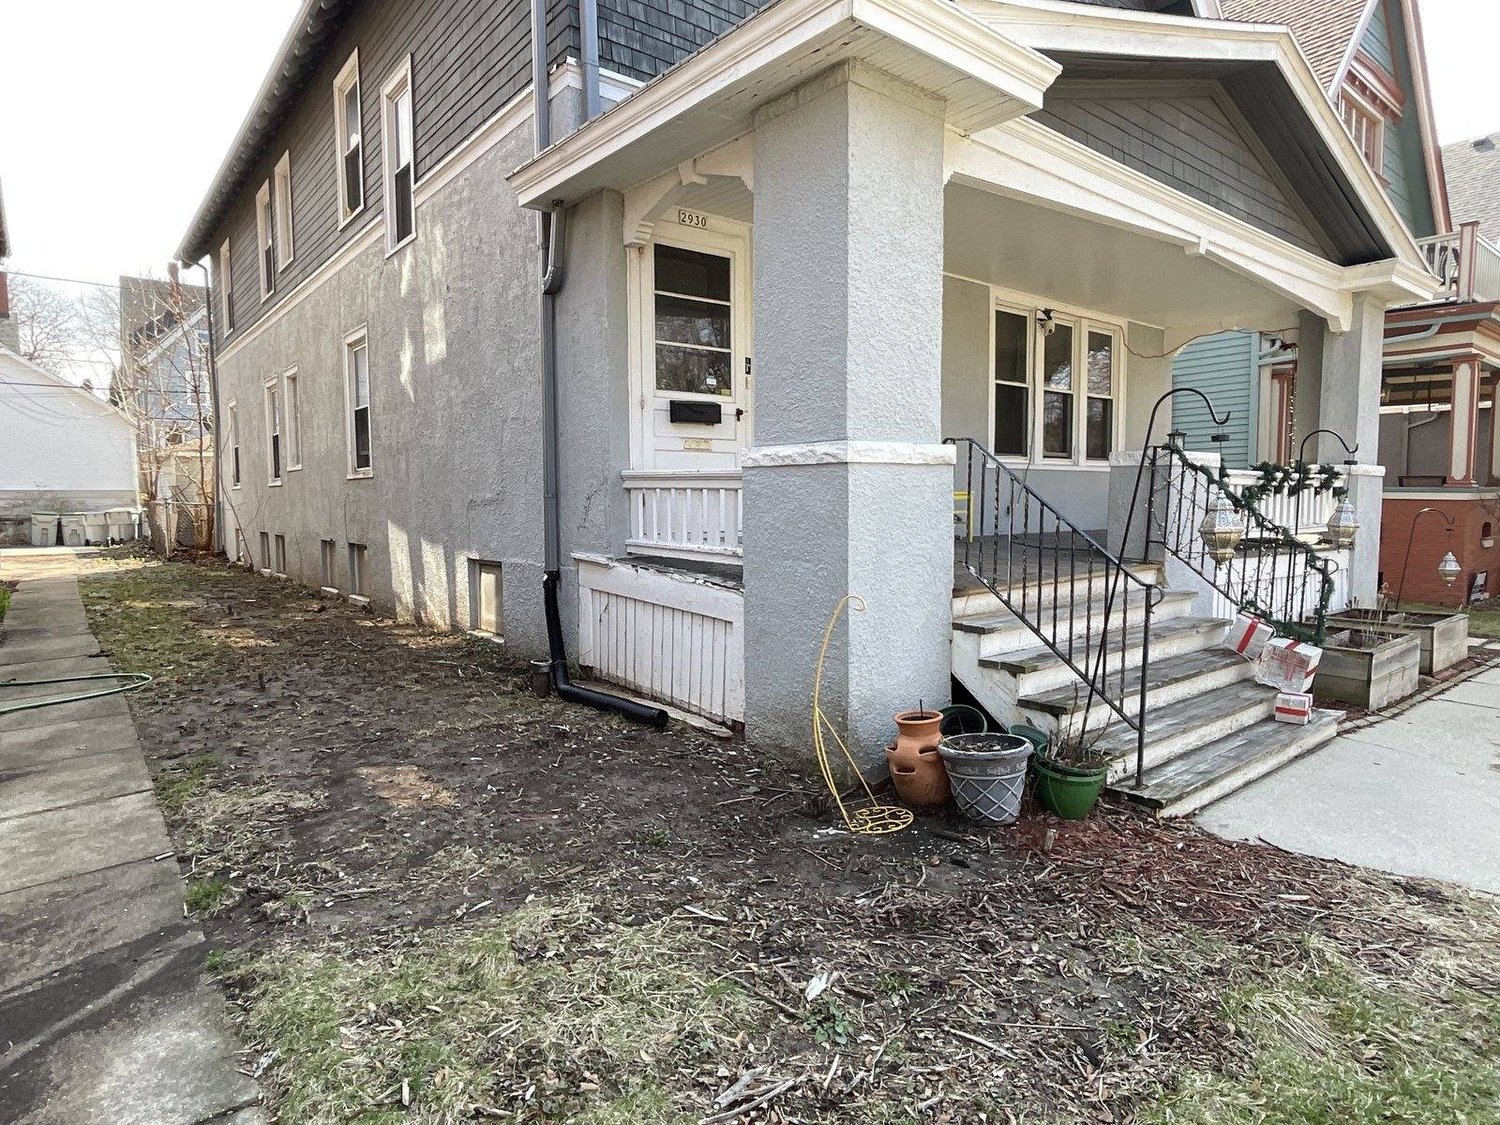
- Grade pitched toward the house; a settled backfill trench along the wall
- Downspouts without extensions; splash blocks aimed at the wall
- Window wells with no cover, full of debris, or below grade
- Stoops, patios and driveways sloped toward the wall, or dropped at the joint
- Sump discharge dumping next to the foundation
- Veneer or siding stains that line up with the interior stains
Match every stain to the exterior. Then decide whether the problem is systemic or local — that single distinction changes the cost of the fix by an order of magnitude.
- Reading Foundation Cracks: A Field Cheat Sheet
- Basement Moisture: Three Entry Zones — you are here
- Lateral Wall Movement: Bowing, Tipping and Shearing
- Settlement and Deterioration: What Braces Cannot Fix
- Measuring, Documenting and Reporting What You Found
Seepage on its own is usually a contractor referral, not an engineering one. If you found water and movement in the same basement, write them as one condition — and if there are signs of active movement, recommend evaluation by a foundation contractor, consultant, or licensed engineer. The high water table flags are the exception: those require site-specific engineering under the code, whatever the wall is doing.
VM Engineering LTD. We provide the plan. We do not do the repair. Contact us.
References: WI UBC Chapter VI, 30.50 Foundation Repair & Damp Proofing (WAFRP Best Management Standards) · R. L. Handy, The Day the House Fell, ASCE Press.